
A Complete Guide to the Tower of Babil in FFXIV Endwalker
The Tower of Babil dungeon in Final Fantasy XIV: Endwalker offers thrilling boss fights and intense teamwork for adventurers.
The Tower of Babil is one of the most iconic dungeons in Final Fantasy XIV: Endwalker, and by 2026 many adventurers still brave its mechanical depths to test their mettle. Nestled in the desolate landscapes of Garlemald in Eorzea, this level 83 dungeon becomes available after completing the Tower of Zot and progressing through the main scenario. The journey begins not with a typical knock on the door, but with a stealthy infiltration aboard a Garlean supply train — a thrilling setup that immediately sets the tone for the industrial hellscape within. Inside, three bosses await: the magitek abomination Barnabas, the sinister scientist Dr. Lugae, and the sorrowful Eikon Anima. Each encounter demands coordination, pattern recognition, and a willingness to adapt, making the Tower of Babil a memorable skill check for parties pushing through the expansion.
To enter the dungeon, players must first use the Duty Finder with a light party of four (one tank, one healer, two DPS). Once inside, the initial sections involve fighting through waves of Garlean soldiers and magitek machinery on the moving train. Healers should be especially attentive here, as some packs hit surprisingly hard. After clearing the train, the party reaches the first boss arena — a large circular platform surrounded by a deadly energy ring. Stepping into the outer ring deals constant damage, so keep to the center.
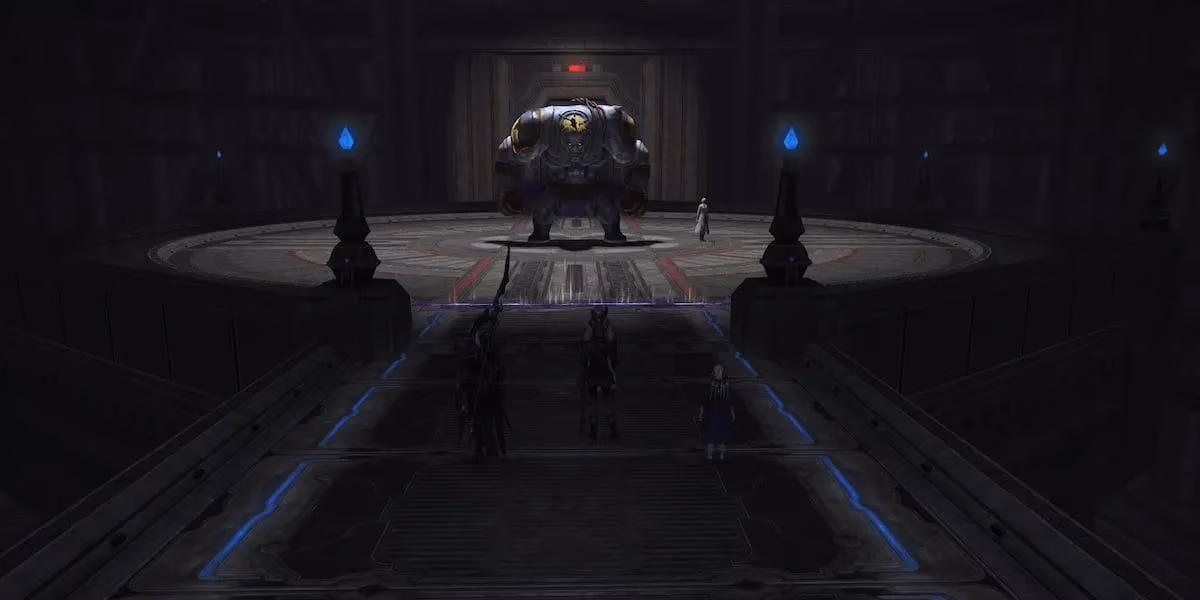
Barnabas, the hulking monstrosity originally from Final Fantasy IV, is a straightforward yet punishing fight. This gigantic cyborg introduces himself by attempting to crush Dr. Lugae, his own creator, before turning his attention to the party. Barnabas has six named attacks that any seasoned adventurer should learn to recognize: Ground and Pound creates a point-blank area of effect burst — simply move away. Dynamic Scrapline and Rolling Scrapline are telegraphed linear or column-shaped attacks that require quick sidesteps. Shocking Force calls down targeted lightning strikes, demanding players spread out to avoid overlapping damage. Dynamic Pound follows Shocking Force, often forcing the group to scatter and then dodge additional circles. Finally, Thundercall fills much of the arena with persistent lightning zones. The key is to keep moving, watch the floor indicators, and never get greedy with melee uptime. Barnabas does not have complex phases, so a well-paced offense will bring him down efficiently.
After Barnabas crumbles, the party boards an elevator and ascends into the main tower. The atmosphere shifts to a more oppressive, sterile laboratory. A gauntlet of four increasingly difficult trash waves stands between players and the next boss. Notable enemies include the Babil Colossus and Babil Rearguard, both of which hit the tank very hard. This is a perfect stretch to use mitigation cooldowns and for healers to flex their toolkit. A Sage or other barrier healer shines here, as their shielding can negate much of the incoming spike damage.
Then comes the battle with Dr. Lugae, a mad scientist who transforms the arena into a deadly experiment. The fight takes place in a square room with two large icons in the center: a green frog icon on the left and a purple shrinking icon on the right. Understanding these icons is the difference between life and death, because Dr. Lugae possesses two instant-kill mechanics. Downpour floods the arena with lethal water, and the only way to survive is to become a frog by standing near the green icon when it activates. Magitek Chakram sends spinning blades across the room that can only be avoided by shrinking, which requires using the purple icon. Players must watch for the boss’s cast bar and the flashing icon on the ground, then quickly move to the correct side. Most wipes happen because someone hesitates or runs to the wrong icon. A helpful tip: stay near the center between pulls so you can react quickly to either effect. Beyond these gimmicks, the fight is a race to burn down Lugae while managing the transformations. With good callouts and a calm healer, this battle becomes a entertaining puzzle rather than a roadblock.
Once Dr. Lugae is dispatched, the ascent continues through circular catwalks high above the tower interior. A massive mechanical claw periodically slams down in the center of each platform, dealing heavy damage and knocking back anyone caught in its path. To avoid this, tanks should pull enemy packs into the straightaways or along the edges, and melee players should stay mindful of the claw’s timing. The final stretch before the last boss is both atmospheric and tense, with the distant silhouette of Anima waiting at the top.
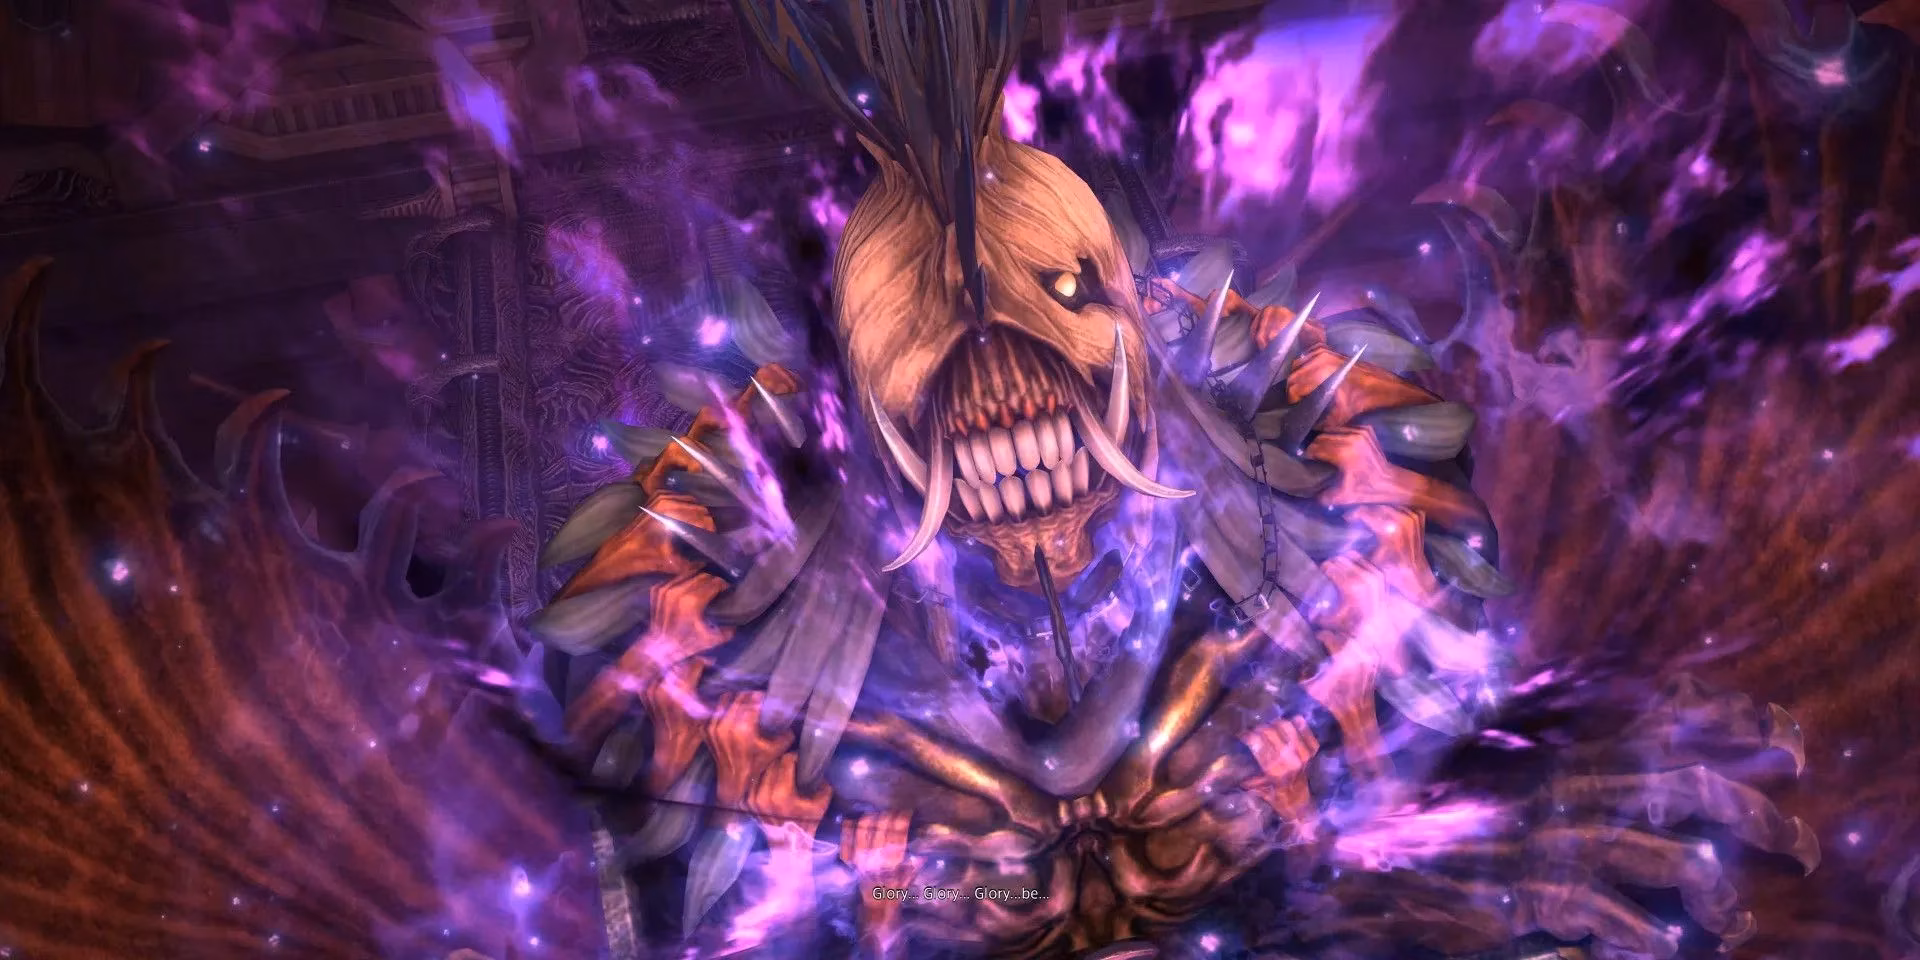
Anima, the Eikon of sorrow, is the final and most demanding encounter of the Tower of Babil. The fight unfolds in two distinct phases. In the first, Anima uses a variety of magical onslaughts: Lunar Nail fires targeted line attacks, Phantom Pain is a raid-wide AoE that requires healing, and Mega Graviton pulls players toward the boss followed by a donut-shaped safe zone. Pater Patriae spawns multiple Anima adds that must be quickly killed. One of the trickiest mechanics is Aetherial Pull, which tethers a player with a purple chain and arrows pointing inward. The affected player must sprint away from the boss until the tether turns orange, signaling they are at a safe distance; failing to do so results in massive party-wide damage. Boundless Pain is a tankbuster that needs heavy mitigation. The phase ends with Anima dragging the entire arena into a dark, alternate dimension.
Phase two introduces a Chaos gauge that slowly fills over time. If the gauge reaches maximum, it will likely wipe the party, so players must race to defeat Anima before that happens. During this phase, Anima cycles through Obliviating Claw (a cleaving tank attack), Coffin Scratch (targeted area hits), and the ultimate Oblivion. When Anima slams into the ground for Oblivion, the damage scales with the Chaos gauge — the higher the gauge, the more devastating the explosion. Healers should prepare large shields and high-throughput healing for this moment. After Oblivion, Anima reverts to its first-phase rotation but with a new addition: Erupting Pain, which places multiple AoE circles under each player. The party must spread out quickly to minimize overlap damage while the tank continues to hold the boss steady. Communication and spatial awareness are vital here.
Conquering Anima rewards players with progression in the main scenario, a sense of true accomplishment, and a deeper understanding of Endwalker's narrative themes. By 2026, the Tower of Babil remains a popular roulette dungeon, and veterans often enjoy guiding newcomers through its mechanical twists. Whether you are a first-timer or a daily roulette adventurer, mastering the tricks of Barnabas, the transformations of Dr. Lugae, and the sorrowful fury of Anima ensures a smooth and enjoyable run. The Tower of Babil is a testament to the design philosophy of Final Fantasy XIV — challenging but fair, and always brimming with personality.