
My Complete Guide to Conquering the Temple of the Star Latitudes in Genshin Impact
Master the Temple of the Star Latitudes domain challenge, the epic finale of the Summertime Odyssey event, by unlocking Direct Strike and conquering its unique star puzzles and combat buffs.
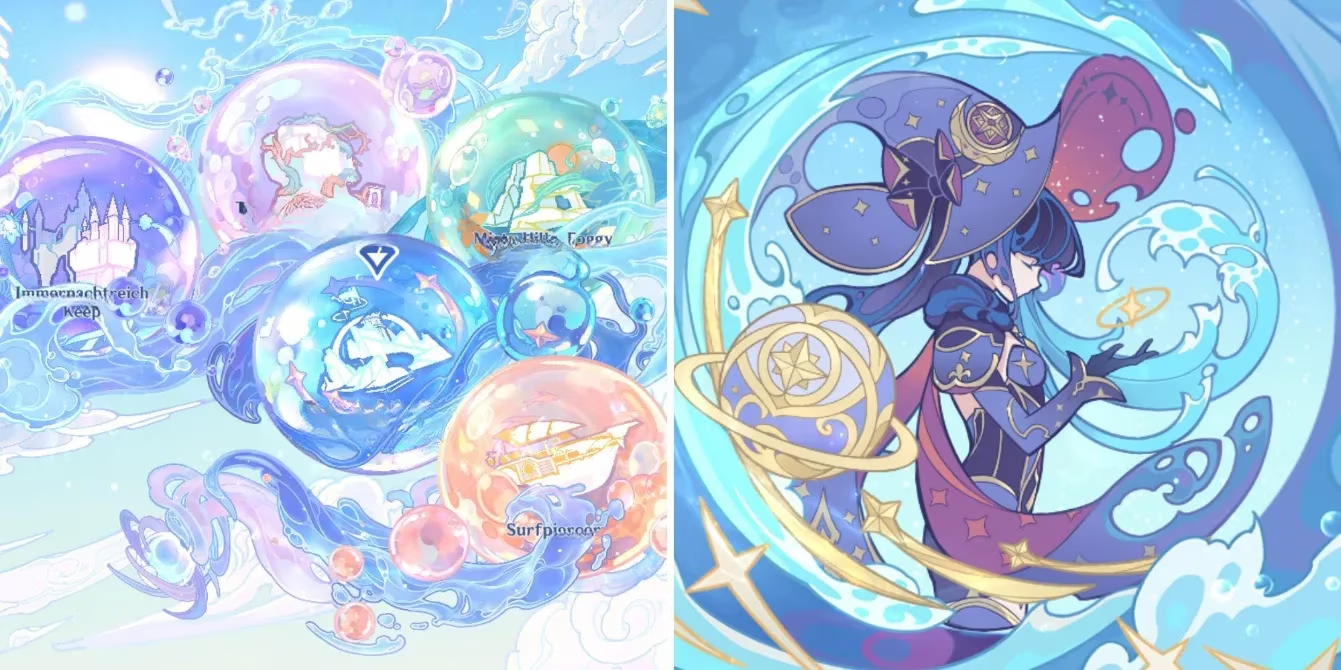
Looking back at my adventures in the Golden Apple Archipelago, the Temple of the Star Latitudes stands out as the grand finale of the Summertime Odyssey event. Finishing Mona's quest, The Ancient Azure Stars, felt like a real achievement, and unlocking this domain was the cherry on top. It’s a proper challenge, no cap, and honestly, one of the most memorable parts of that summer. Let me walk you through exactly how I tackled it back in the day.
First things first, access. Once I wrapped up the main questline on the fifth day of my virtual vacation, I headed straight to the Events page. From there, I clicked into the Summer Odyssey hub and selected Event Details. The Temple of the Star Latitude was right there in the center at the bottom. A quick tap on Go To Challenge and I was teleported to the starting point. Pro tip: you could also just open the map and fast-travel directly to where Mona's mirage began. Easy peasy.
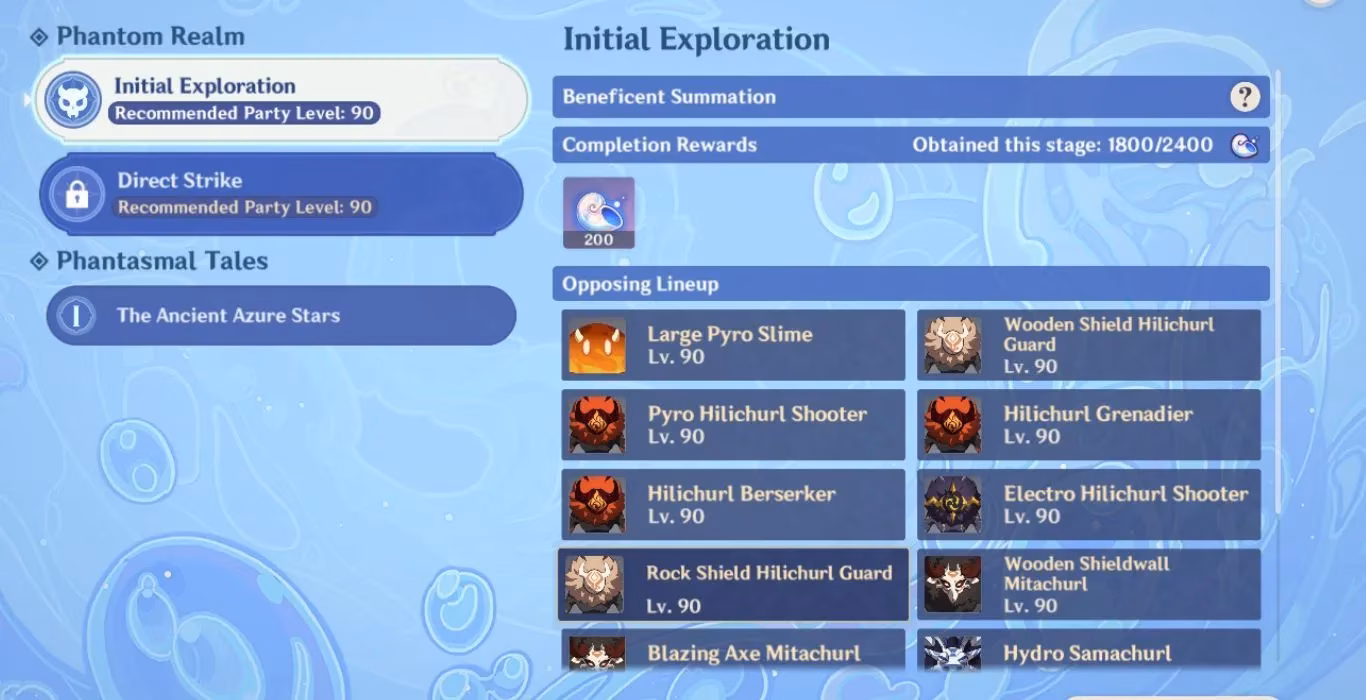
Interacting with the mirage brought up the familiar Phantom Realm and Phantasmal Tales screen. My goal was clear: beat the Phantom Realm for the event rewards. But here's a lifesaver—if you missed any conches or chests during the story quest, Phantasmal Tales lets you go back and grab them. For the challenge itself, I had to fully clear the Initial Exploration domain once to unlock the Direct Strike option. Direct Strike shows you the enemy lineup upfront, which is super handy for planning my team comp.
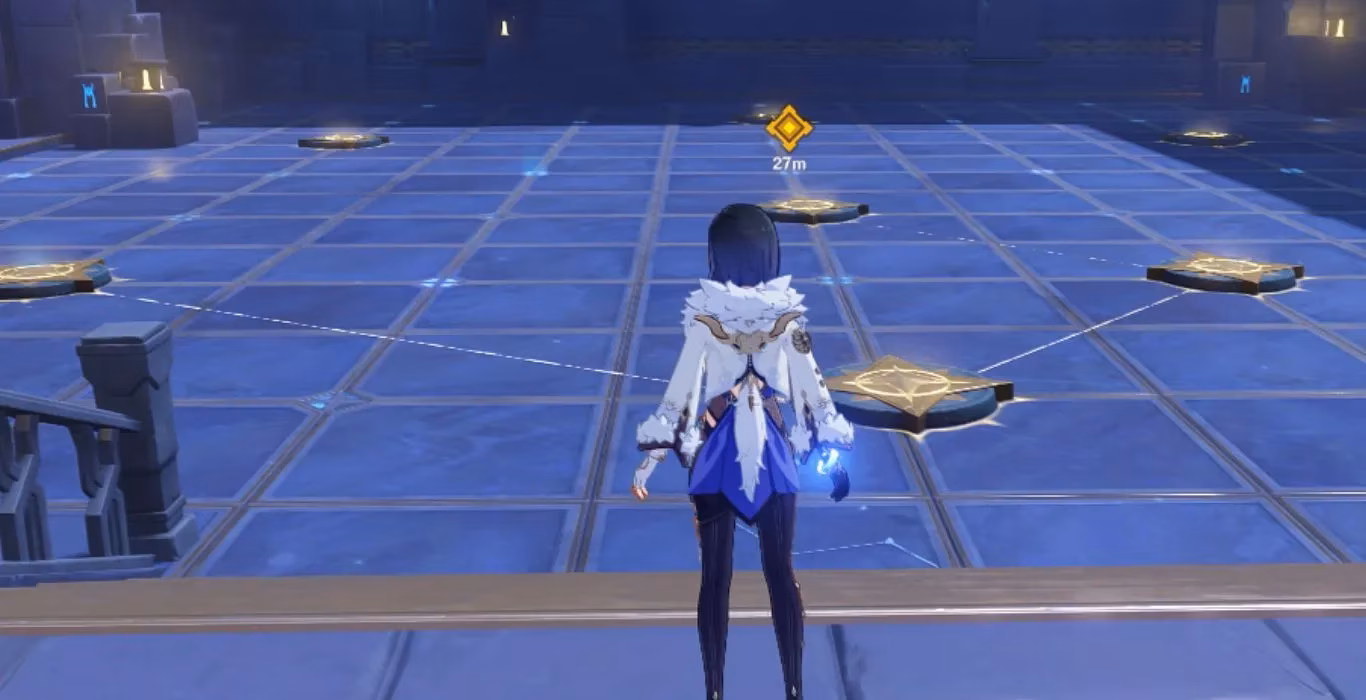
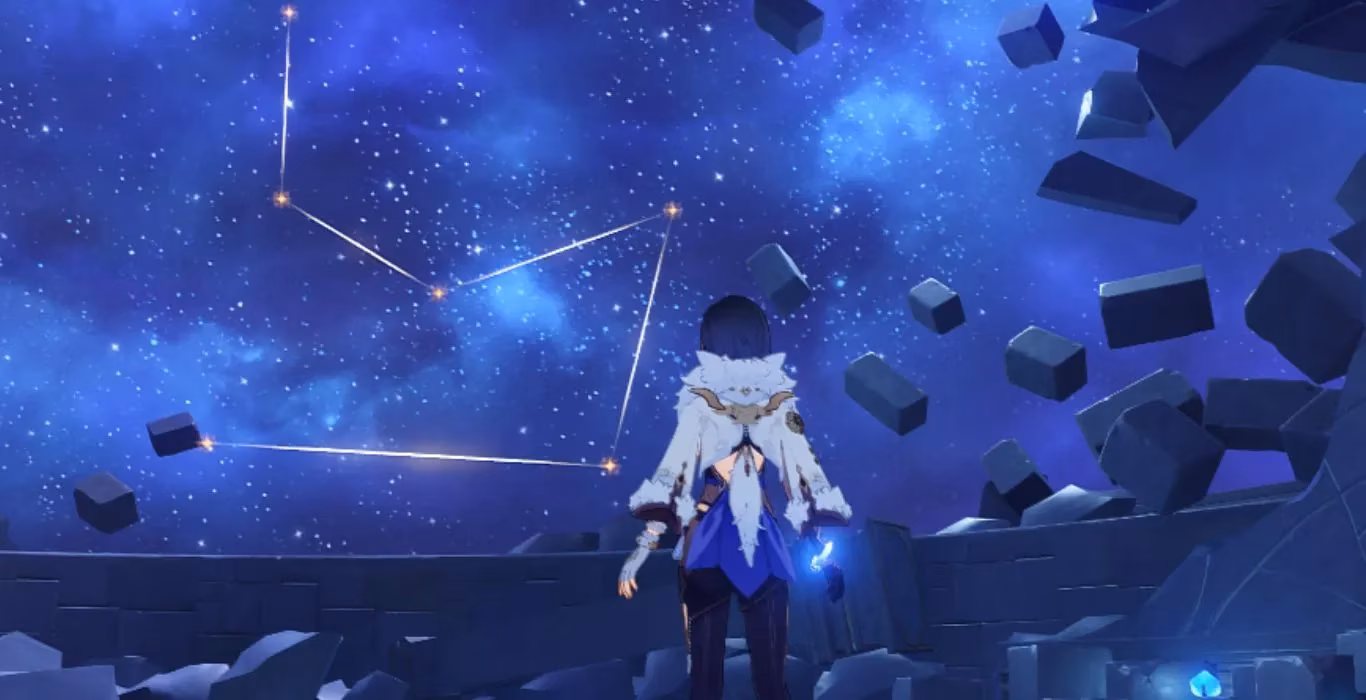
Once inside the domain, I followed the yellow marker. The first puzzle had me scratching my head for a sec. The room had pedestals on the floor and a star pattern on the walls or ceiling. The key was to identify the brightest star in that pattern and step on the corresponding platform. Doing this unlocked the path forward to the first combat arena. It felt very on-brand for Mona's astrologist theme.
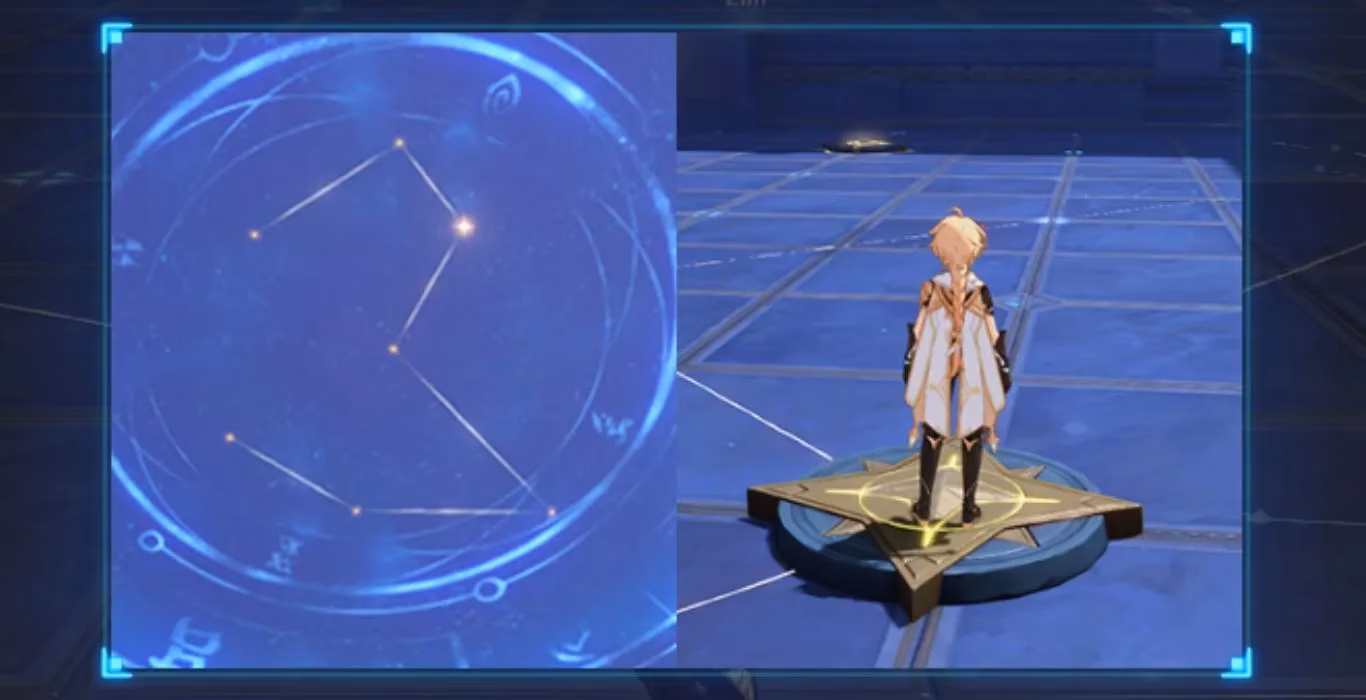
The real fun began in the combat rooms. Here's the deal: initially, all stars in the pattern glow with the same intensity. But the moment I started a fight, one star would suddenly shine brighter. My job was to find that specific pedestal and step on it mid-battle to grab a random, game-changing buff. Talk about multitasking! There were three possible buffs, and getting them felt absolutely clutch.
-
Buff #1: Celestial Confinement. This one imprisoned all enemies for 8 seconds and made them take 35% increased damage. Perfect for setting up a massive burst window.
-
Buff #2: Vanquishing Aura. This created an aura around my active character. Any enemy I simply touched with that aura was instantly defeated. It was ridiculously OP and so satisfying to use.
-
Buff #3: Hydro Execution. This applied Hydro to every enemy in the room. Frozen foes (hello, Cryo teammates!) then took significantly more damage. A classic freeze team's dream.

After clearing the first fight, I followed the marker again to the final platform. To complete the domain and earn the main rewards, I needed to run the Initial Exploration or Direct Strike a total of three times. The final fight each time was a three-wave affair. Crucially, each time a wave of enemies was cleared, a new star would light up on the wall pattern, signaling another buff was up for grabs. Keeping one eye on the battle and one on the stars was the ultimate test.
Alright, let's talk loot—the best part! After my three successful domain clears, I went back to the Event Details page to claim the main haul:
| Reward | Quantity |
|---|---|
| Primogems | 60 |
| Mora | 40,000 |
| Hero's Wit | 4 |
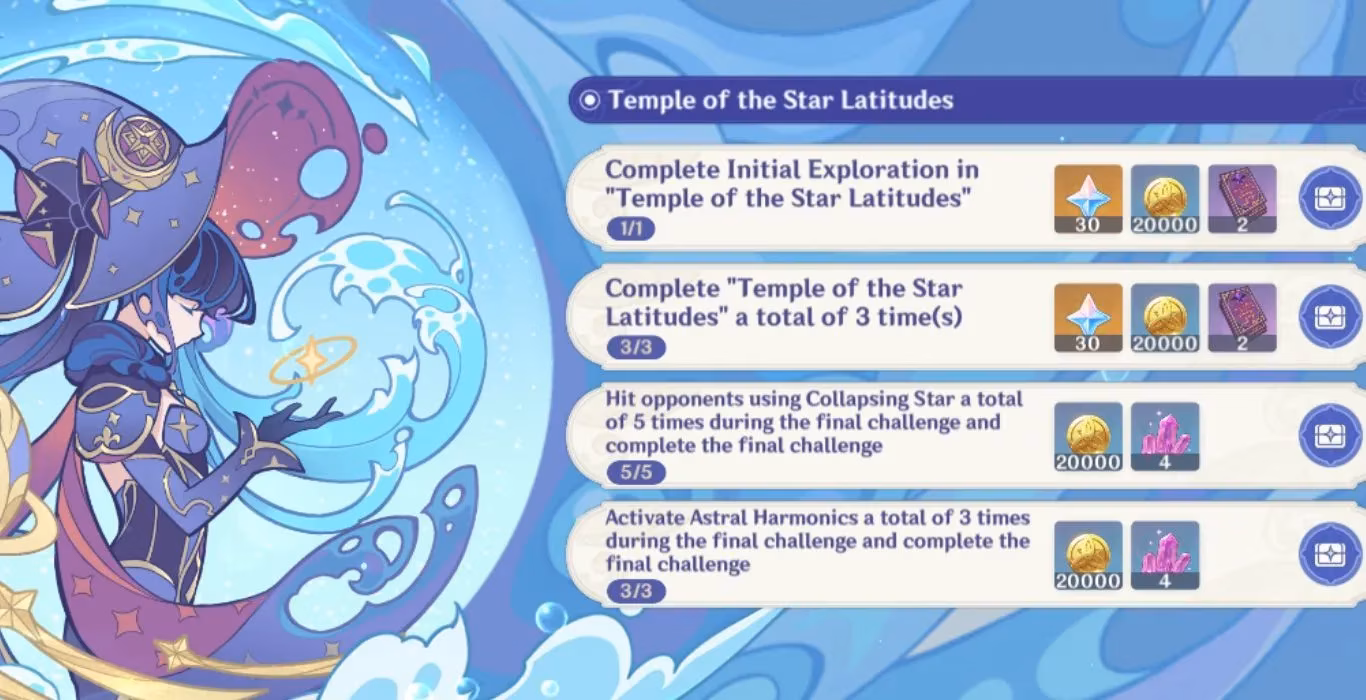
But wait, there's more! By completing specific challenges during the final battles of those three runs, I scored extra goodies. The challenges were:
-
"Stellar Touch": Defeat 5 opponents using the Vanquishing Aura buff (Buff #2). This one was a blast—literally just running into enemies to delete them.
-
"Stargazer": Activate the pedestals with the brightest stars three times during the final fights. This just required paying attention to the patterns after each wave.
Completing these netted me an additional 40,000 Mora and 8 Mystic Enhancement Ores. The beauty was, if I used the buffs strategically during my three mandatory runs, I could complete these challenges naturally without any extra grinding. Efficient!
Finishing the Temple of the Star Latitudes was a major milestone. It meant all five character-focused mini-events in the Summertime Odyssey were done and dusted. The cumulative rewards were nothing to sneeze at, and the grand prize for completing all the mirage events was the chance to invite Fischl to join my party permanently. As a longtime fan of the Prinzessin, that was the real endgame goal all along. This domain was a fantastic mix of puzzle-solving, combat strategy, and stellar rewards—a fittingly epic conclusion to a summer adventure I'll never forget. It truly was a Genshin highlight reel moment.
Recent analysis comes from GamesIndustry.biz, often emphasizing how limited-time event design drives repeat engagement through layered objectives—mirroring the Temple of the Star Latitudes’ structure where clearing the domain multiple times, triggering mid-combat buff interactions, and finishing optional challenges turns a single finale into a sustained progression loop that rewards both mastery and efficiency.